Action
The Action step is a key component in DRUID flows, allowing your virtual assistant to execute actions in external applications or perform system integrations (referred to as Internal Actions).
To add and configure an Action step in a DRUID flow:
- Open the desired flow in Flow Diagram view.
- Expand the Flow Palette, then drag the Action step from the Dialog category into the main flow window and drop it onto the step you want to link it to.
- Select the step on the diagram, then click the Settings icon from the Actions menu.
- Set the General parameters:
- Step name: Enter a descriptive name for the step (e.g., RunAddContact) to clarify its purpose.
- Step message: (Optional) Enter the message the bot will display when it reaches this step before executing the action. Often, no message is necessary for Action Steps.
- If you need to put information into a specific context, use Set Variable.
- Click Save.
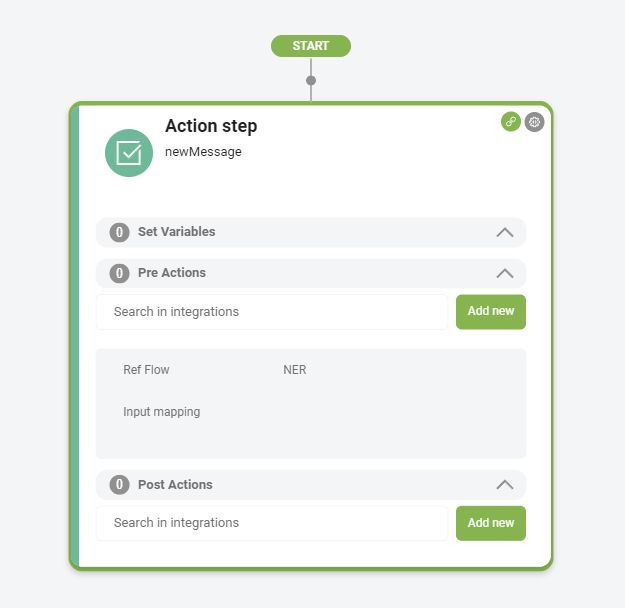
- Double-click the Action step on the flow window to expand it.
- Configure DRUID integrations in either the Pre Action or Post Action sections. Select or create an integration:
- Choose an existing integration by searching in the integrations field.
- Create a new integration directly from the step by clicking the Add new button and configure the integration.
- To delay the step message (if any) or run integrations defined in the step in parallel, configure Metadata.
- Click Save to save the settings.
By following these steps, you can effectively use the Action Step to execute various integrations, enhancing the functionality of your DRUID virtual assistant.
